


March in the garden
Seed sowing tips and the launch of my new Create Academy course

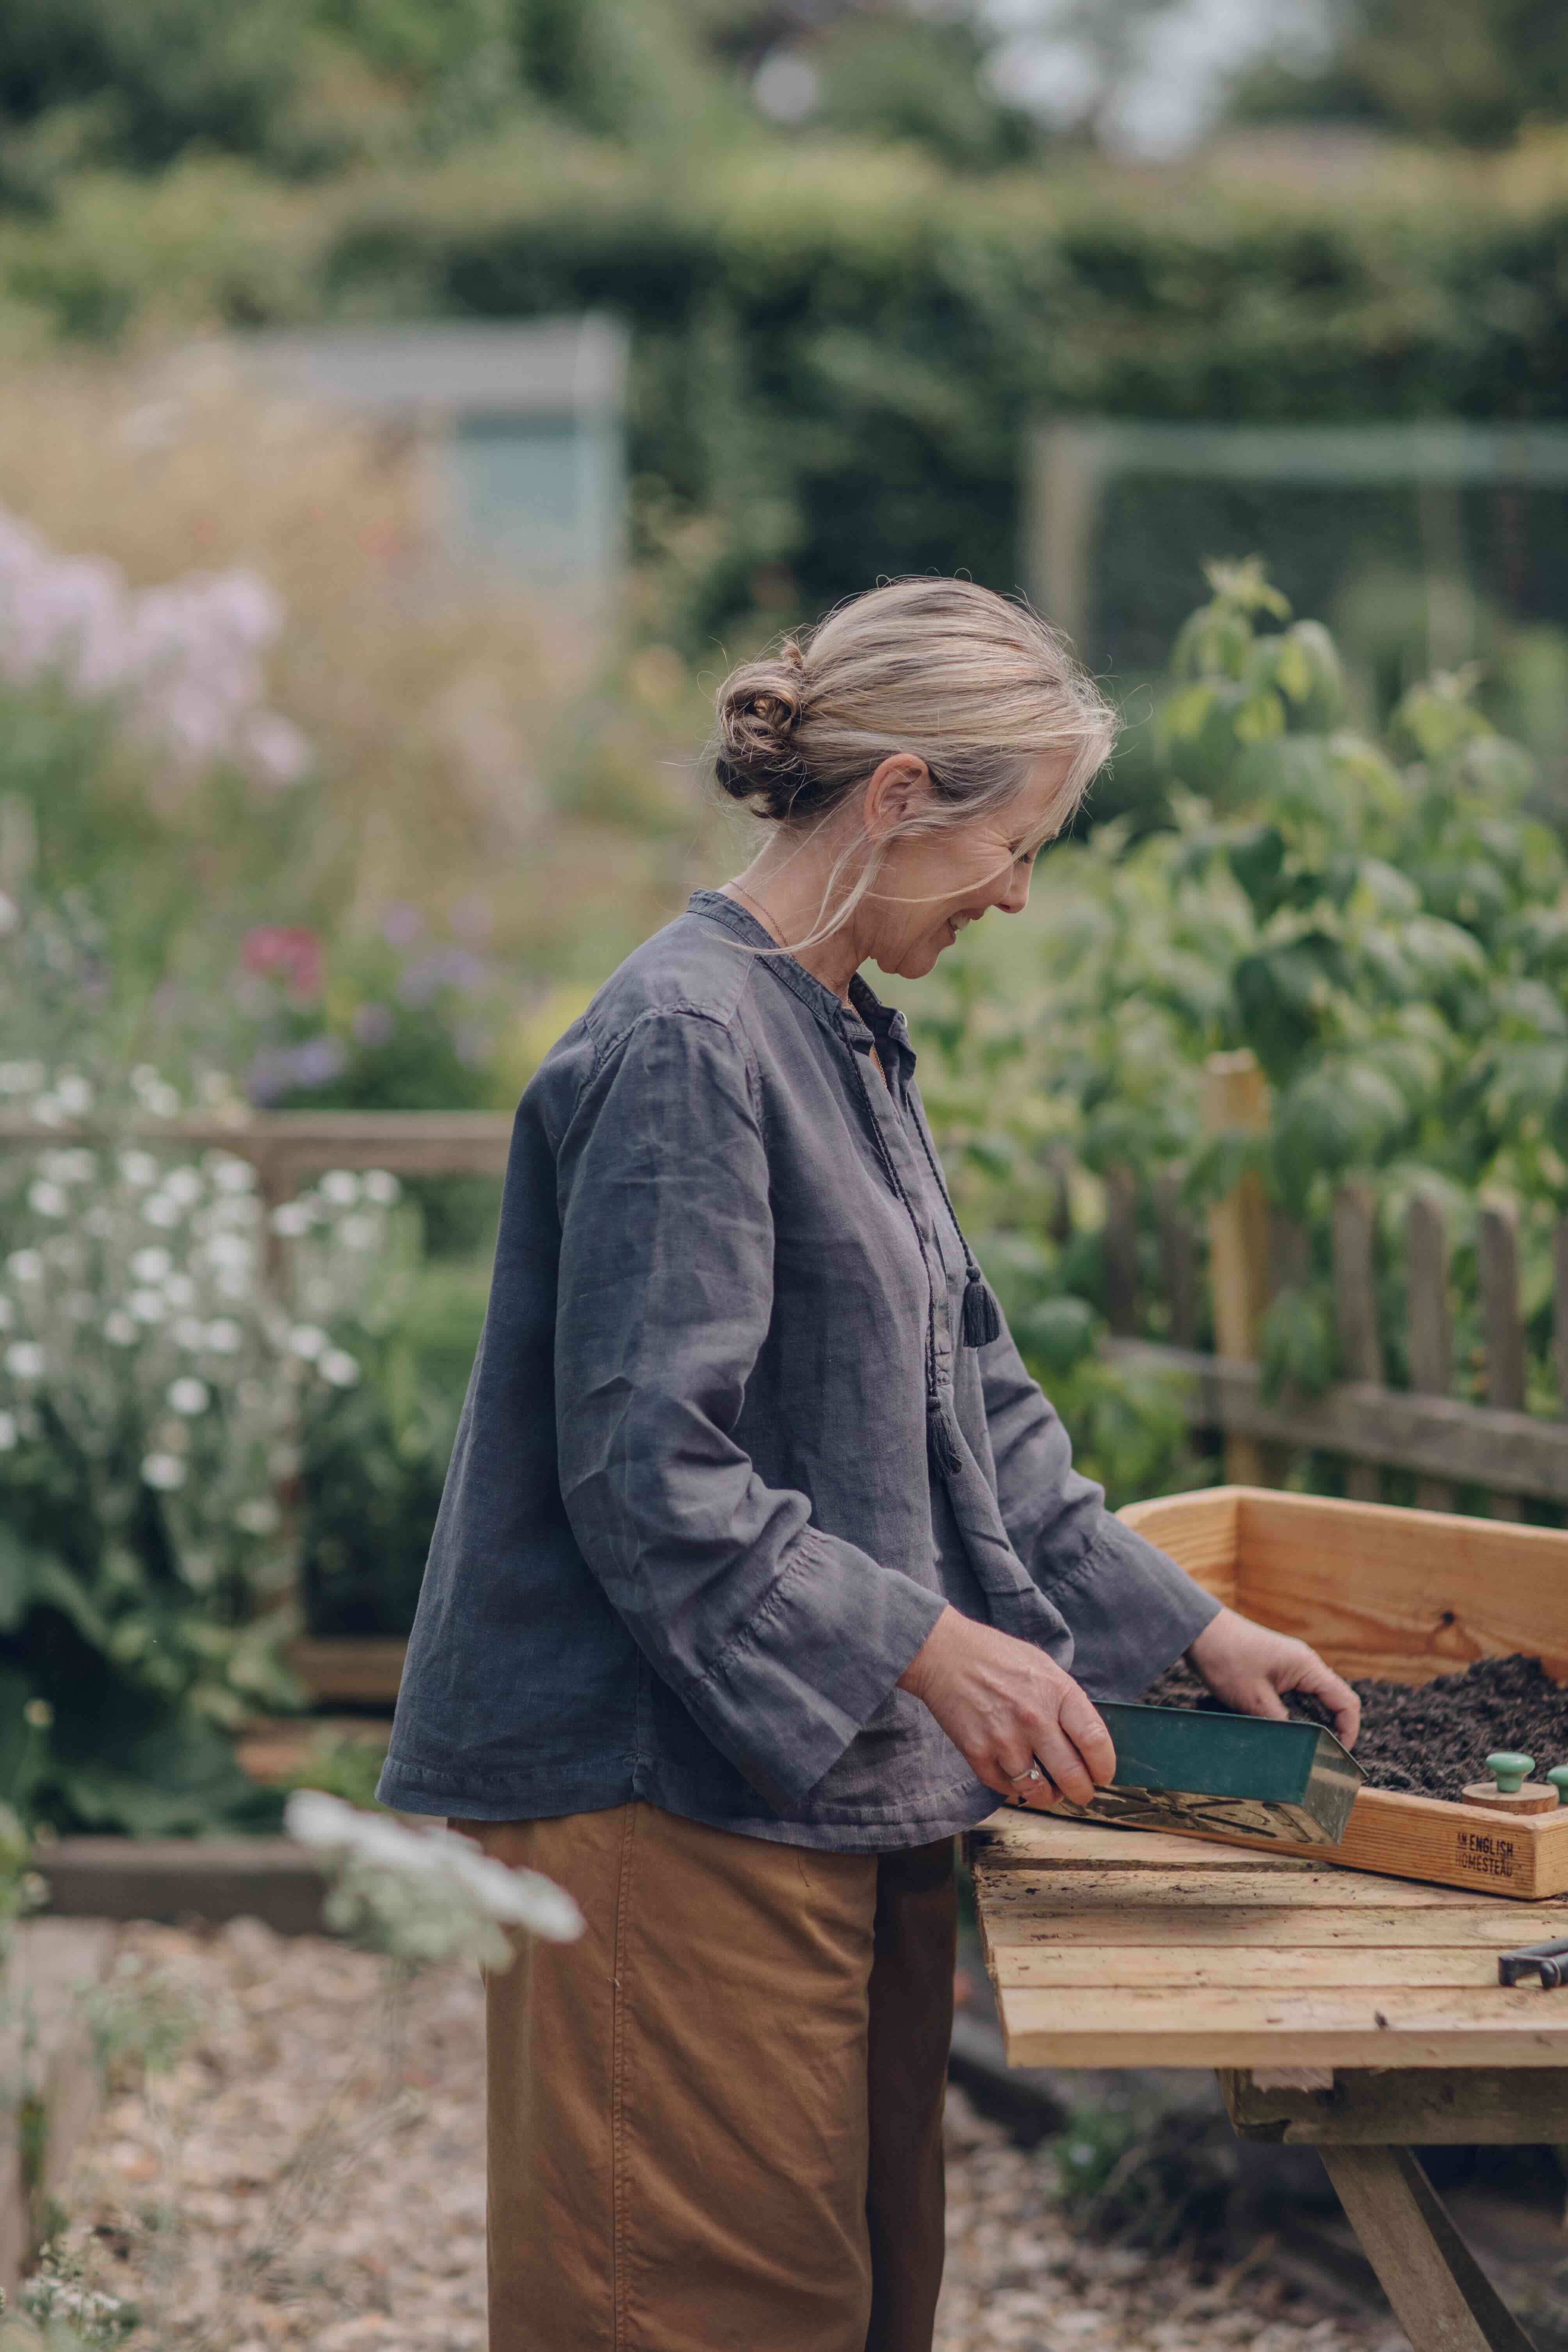
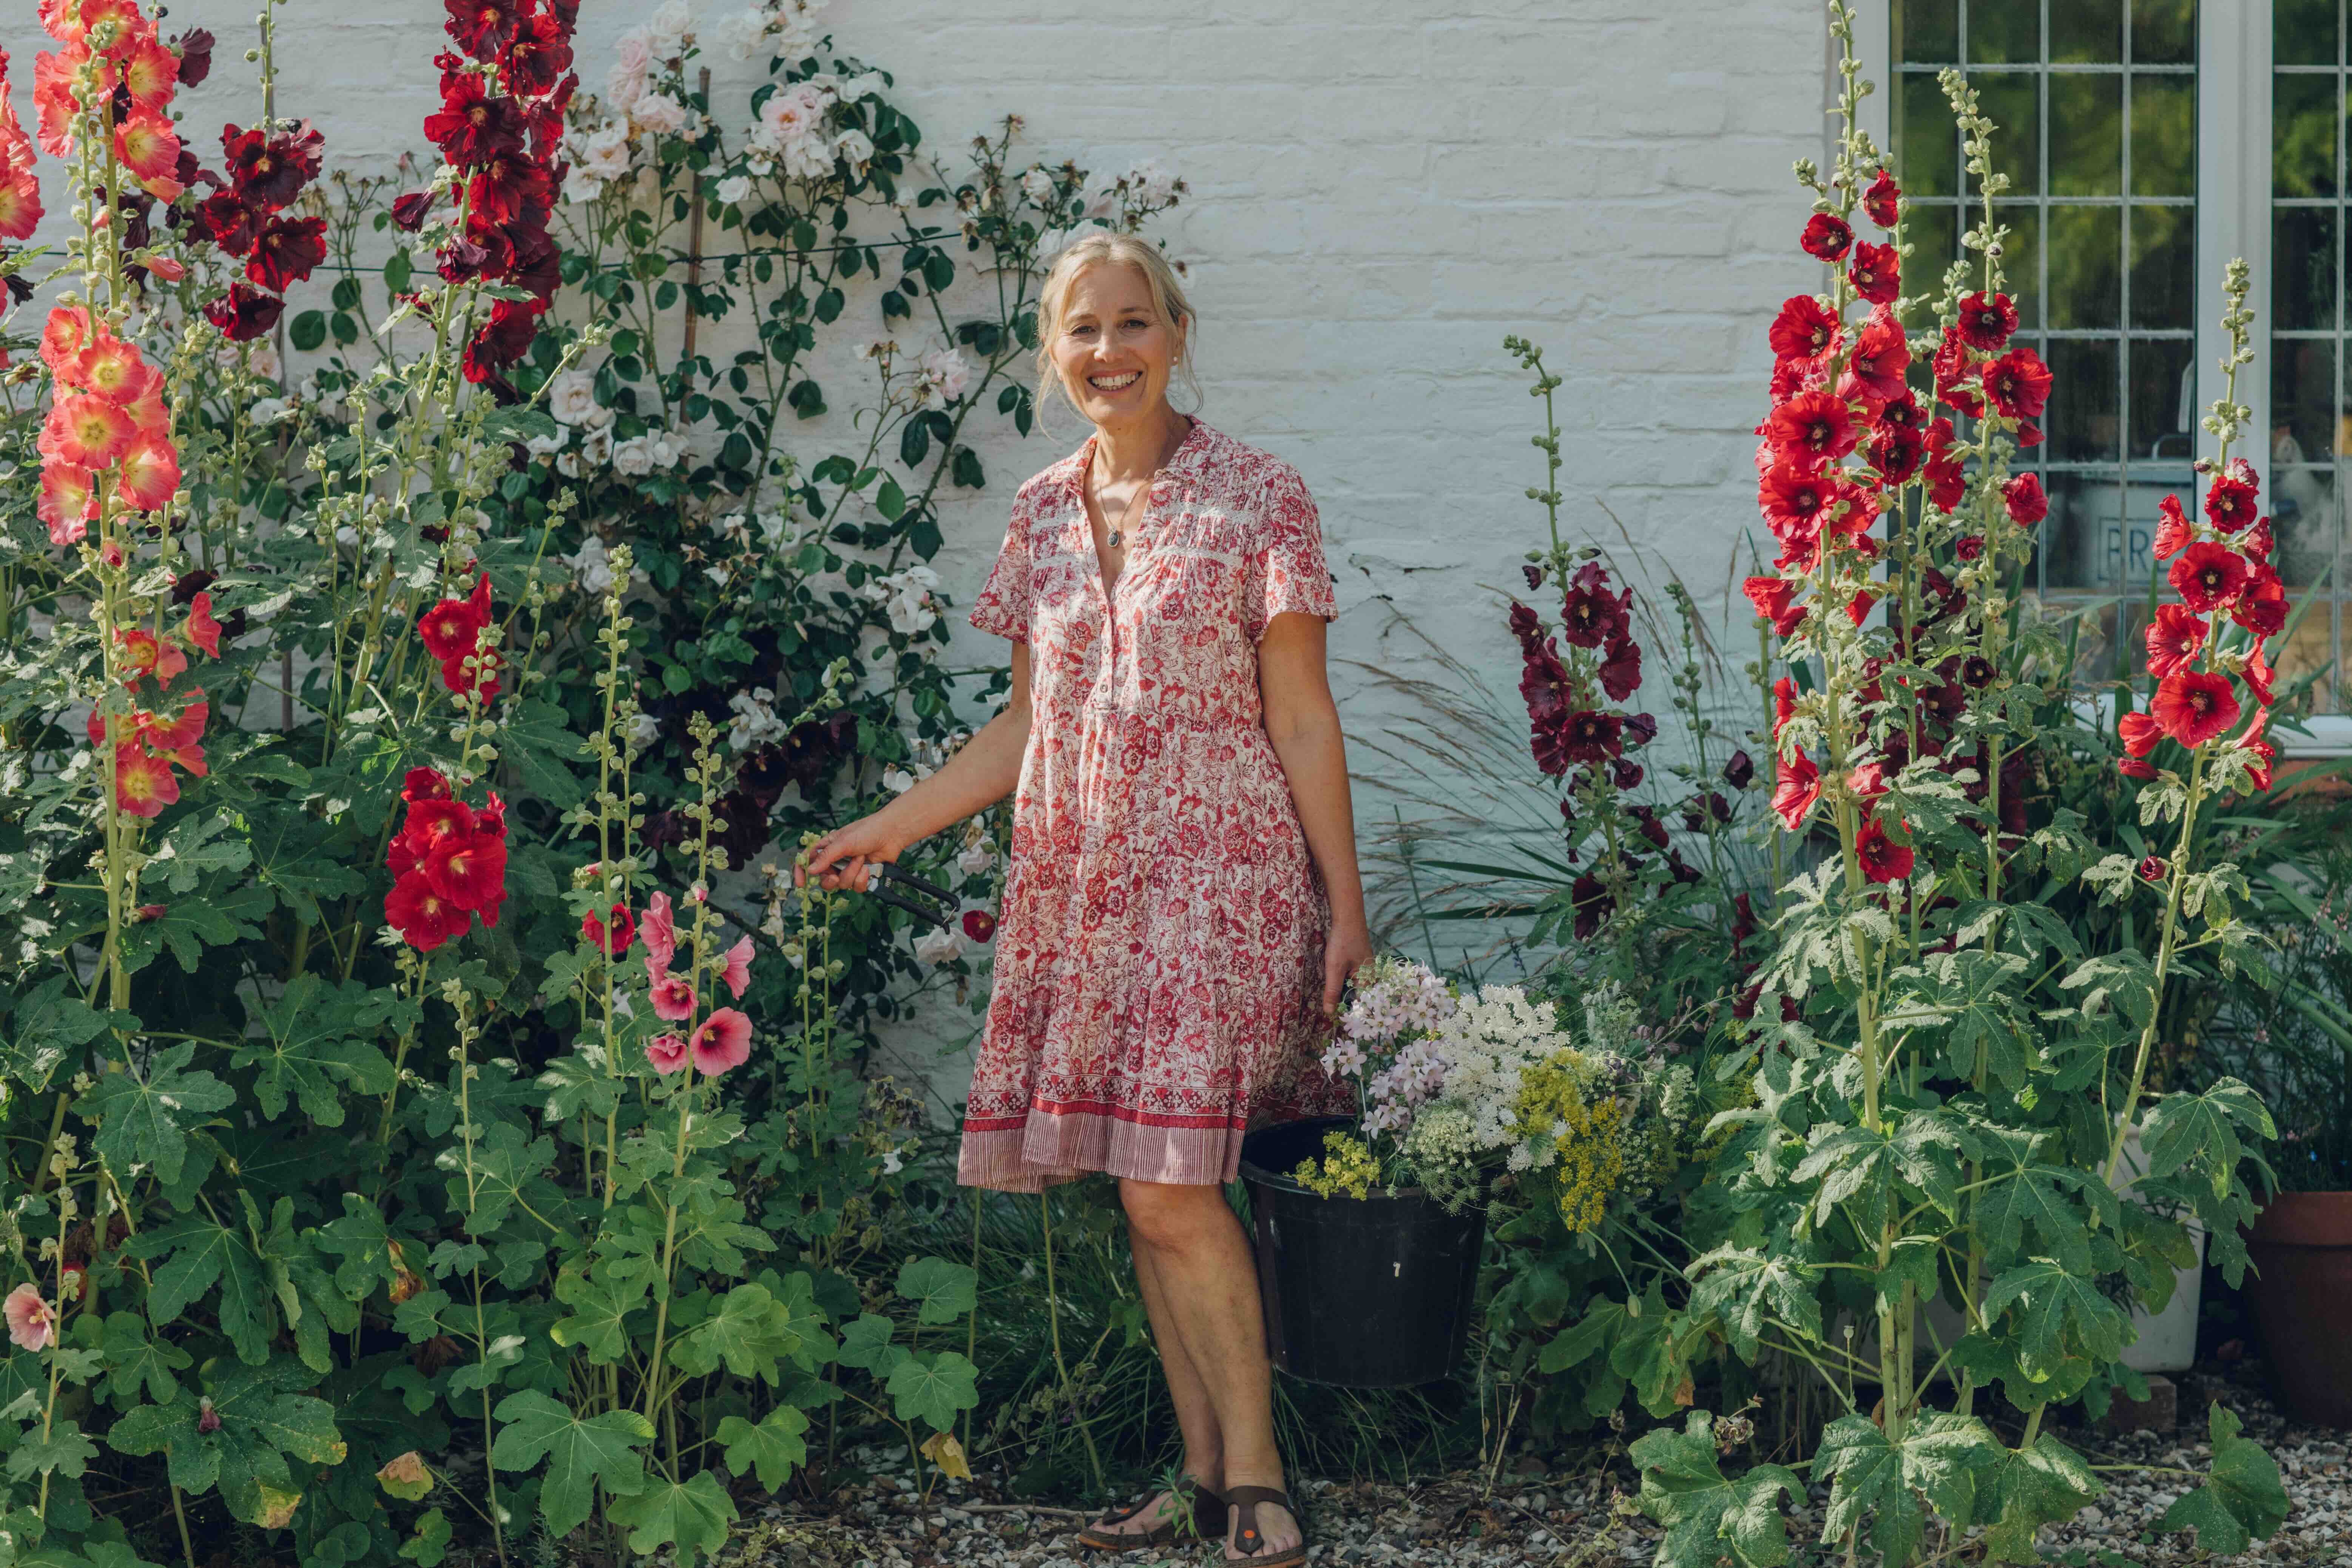
This is my monthly diary post, free for all, and this week I’m celebrating the launch of my new Create Academy course, Growing Flowers from Seed. All the photos in this post were taken when we filmed the course last year. I had such fun doing it. Create Academy courses are beautifully shot and the intention is that they are accessible, informative as well as easy to listen to and watch. If you subscribe to the course this weekend you’ll get 20% off until midnight on March 3.
Mine is very much a relaxed approach to growing from seed. I don’t want to come across as an old school ma’am telling you exactly what to do. I want you to have fun. I’ve always felt in gardening that trial and error is the best way to learn; everyone has their own unique set of circumstances and it’s all about discovering the methods that work best for you. My course is not prescriptive or encyclopaedic. It’s really just an invitation into my garden to show you what I grow, how I do it, and how I use the flowers to enhance my borders and pots.
The launch is of course very timely. March is probably the most concentrated seed-sowing month of the year for me. The rest of the garden is neatly under control with everything in the borders cut back and ready to go. Spring bulbs are just starting to flower and the euphorbias, honesty and forget-me-nots (grown from seed) are dotting the garden with colour. In the vegetable garden the no-dig beds are covered with a thick layer of compost ready for planting, and the weather is still cool so the annual weeds haven’t taken hold. My attention therefore can be focused on coaxing all my seeds into life. Here I give you my practical notes on sowing flowers from seed and some common sense guidance on getting started.
Compost
If you’re making your first foray into seed growing, it’s worth buying good quality compost that is made specifically for seeds and cuttings as it will improve your chances of success. Seed compost has exactly the right quantities of nutrients that the seedlings need, and it also has a fine texture that will allow even the smallest of seeds to germinate and grow freely. You can also use some multipurpose composts for sowing seeds by removing the bigger lumps of matter first - sieving it can make it easier to use. I tend to use fine seed compost for tiny seeds like foxgloves or nicotiana, and a coarser multipurpose for larger seeds like sweet peas, lupins or cosmos. My favourite brand is Sylvagrow, a peat-free compost whose main ingredient is bark. It seems much more moisture retentive than other composts made from coir or other materials. The Sylvagrow Organic compost is suitable for sowing seeds as well as potting on.
Seed trays and pots
The first thing to say is don’t use full size seed trays because you will end up with hundreds of seedlings that you can’t deal with. I use a mixture of half and quarter-size seed trays and 9cm pots. I also use modular trays for larger, swift-growing seeds like cosmos and dahlias. Sowing two seeds to a module, you can pinch out the weaker seedling and leave the other one growing. It takes out the step of pricking the seedlings out. I use natural rubber seed trays like these, which can be reused again and again. If you don’t need large quantities, you can also sow quite efficiently into square 9cm pots with six fitting nicely into a standard size seed tray, with a perspex lid on top. If you’re being pernickety, you’re probably using more compost this way because of the depth of the pot, but the roots have plenty of space to develop.
Other kit
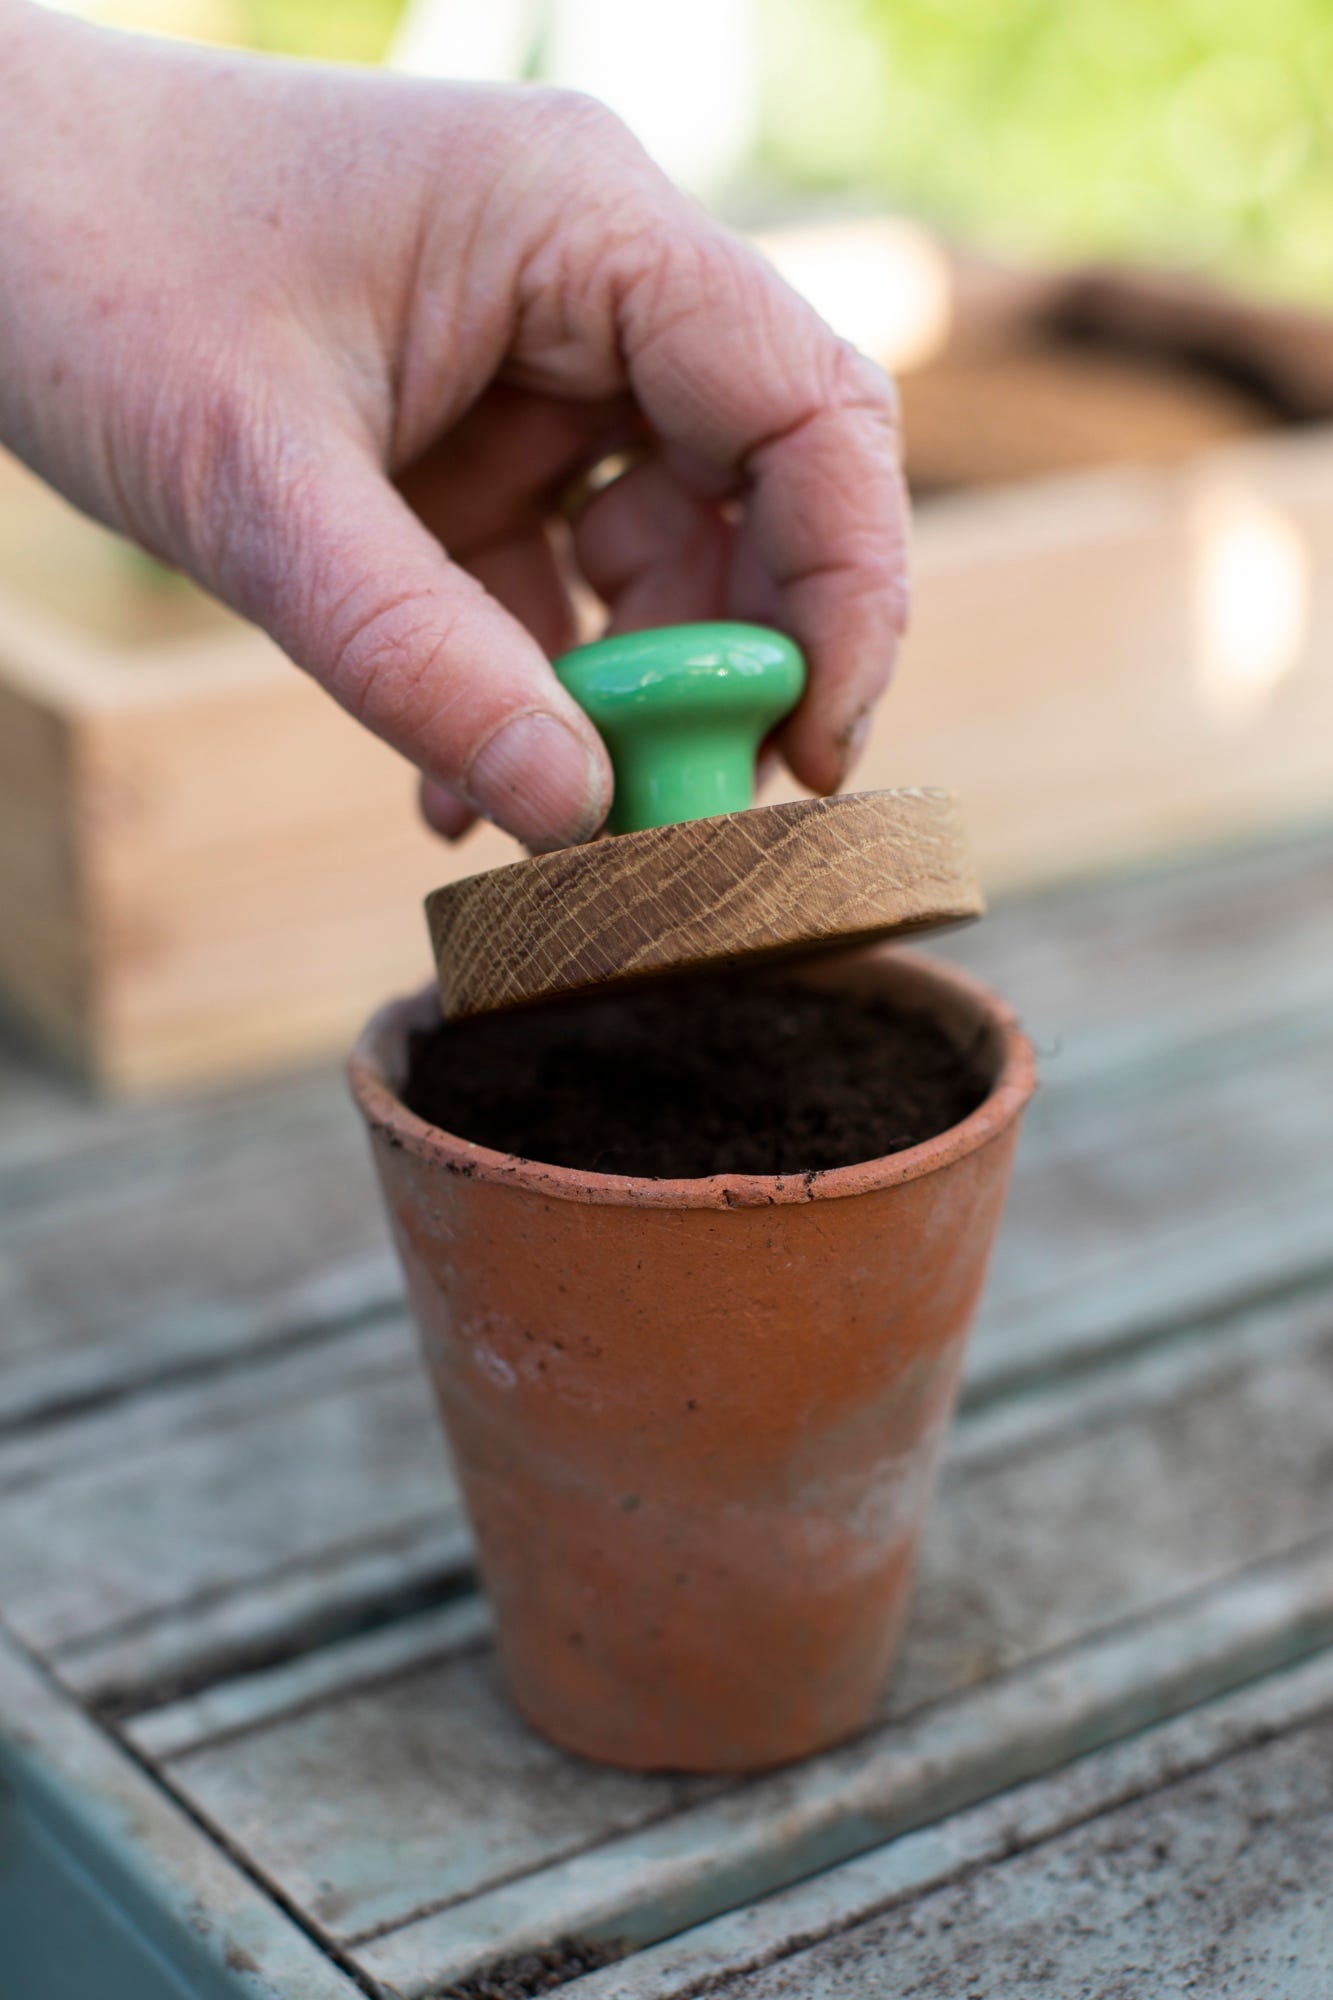
I use these simple Oak Pot Tampers all the time. They are useful for gently firming the compost and pressing seeds into it and generally make the finished sowing neat and tidy. Handmade in Dorset by a couple who also make my Auricula Theatres, they are sold on my website. The other tool I regularly use when pricking seedlings out is a seedling widger. I used to use old plastic plant labels for years, but this metal tool means that you can tease out the seedling with more precision. I also recommend a good potting tray to hold the compost while you sow and pot on. I got mine from Etsy and you can find a similar cedar one here.
What to sow when
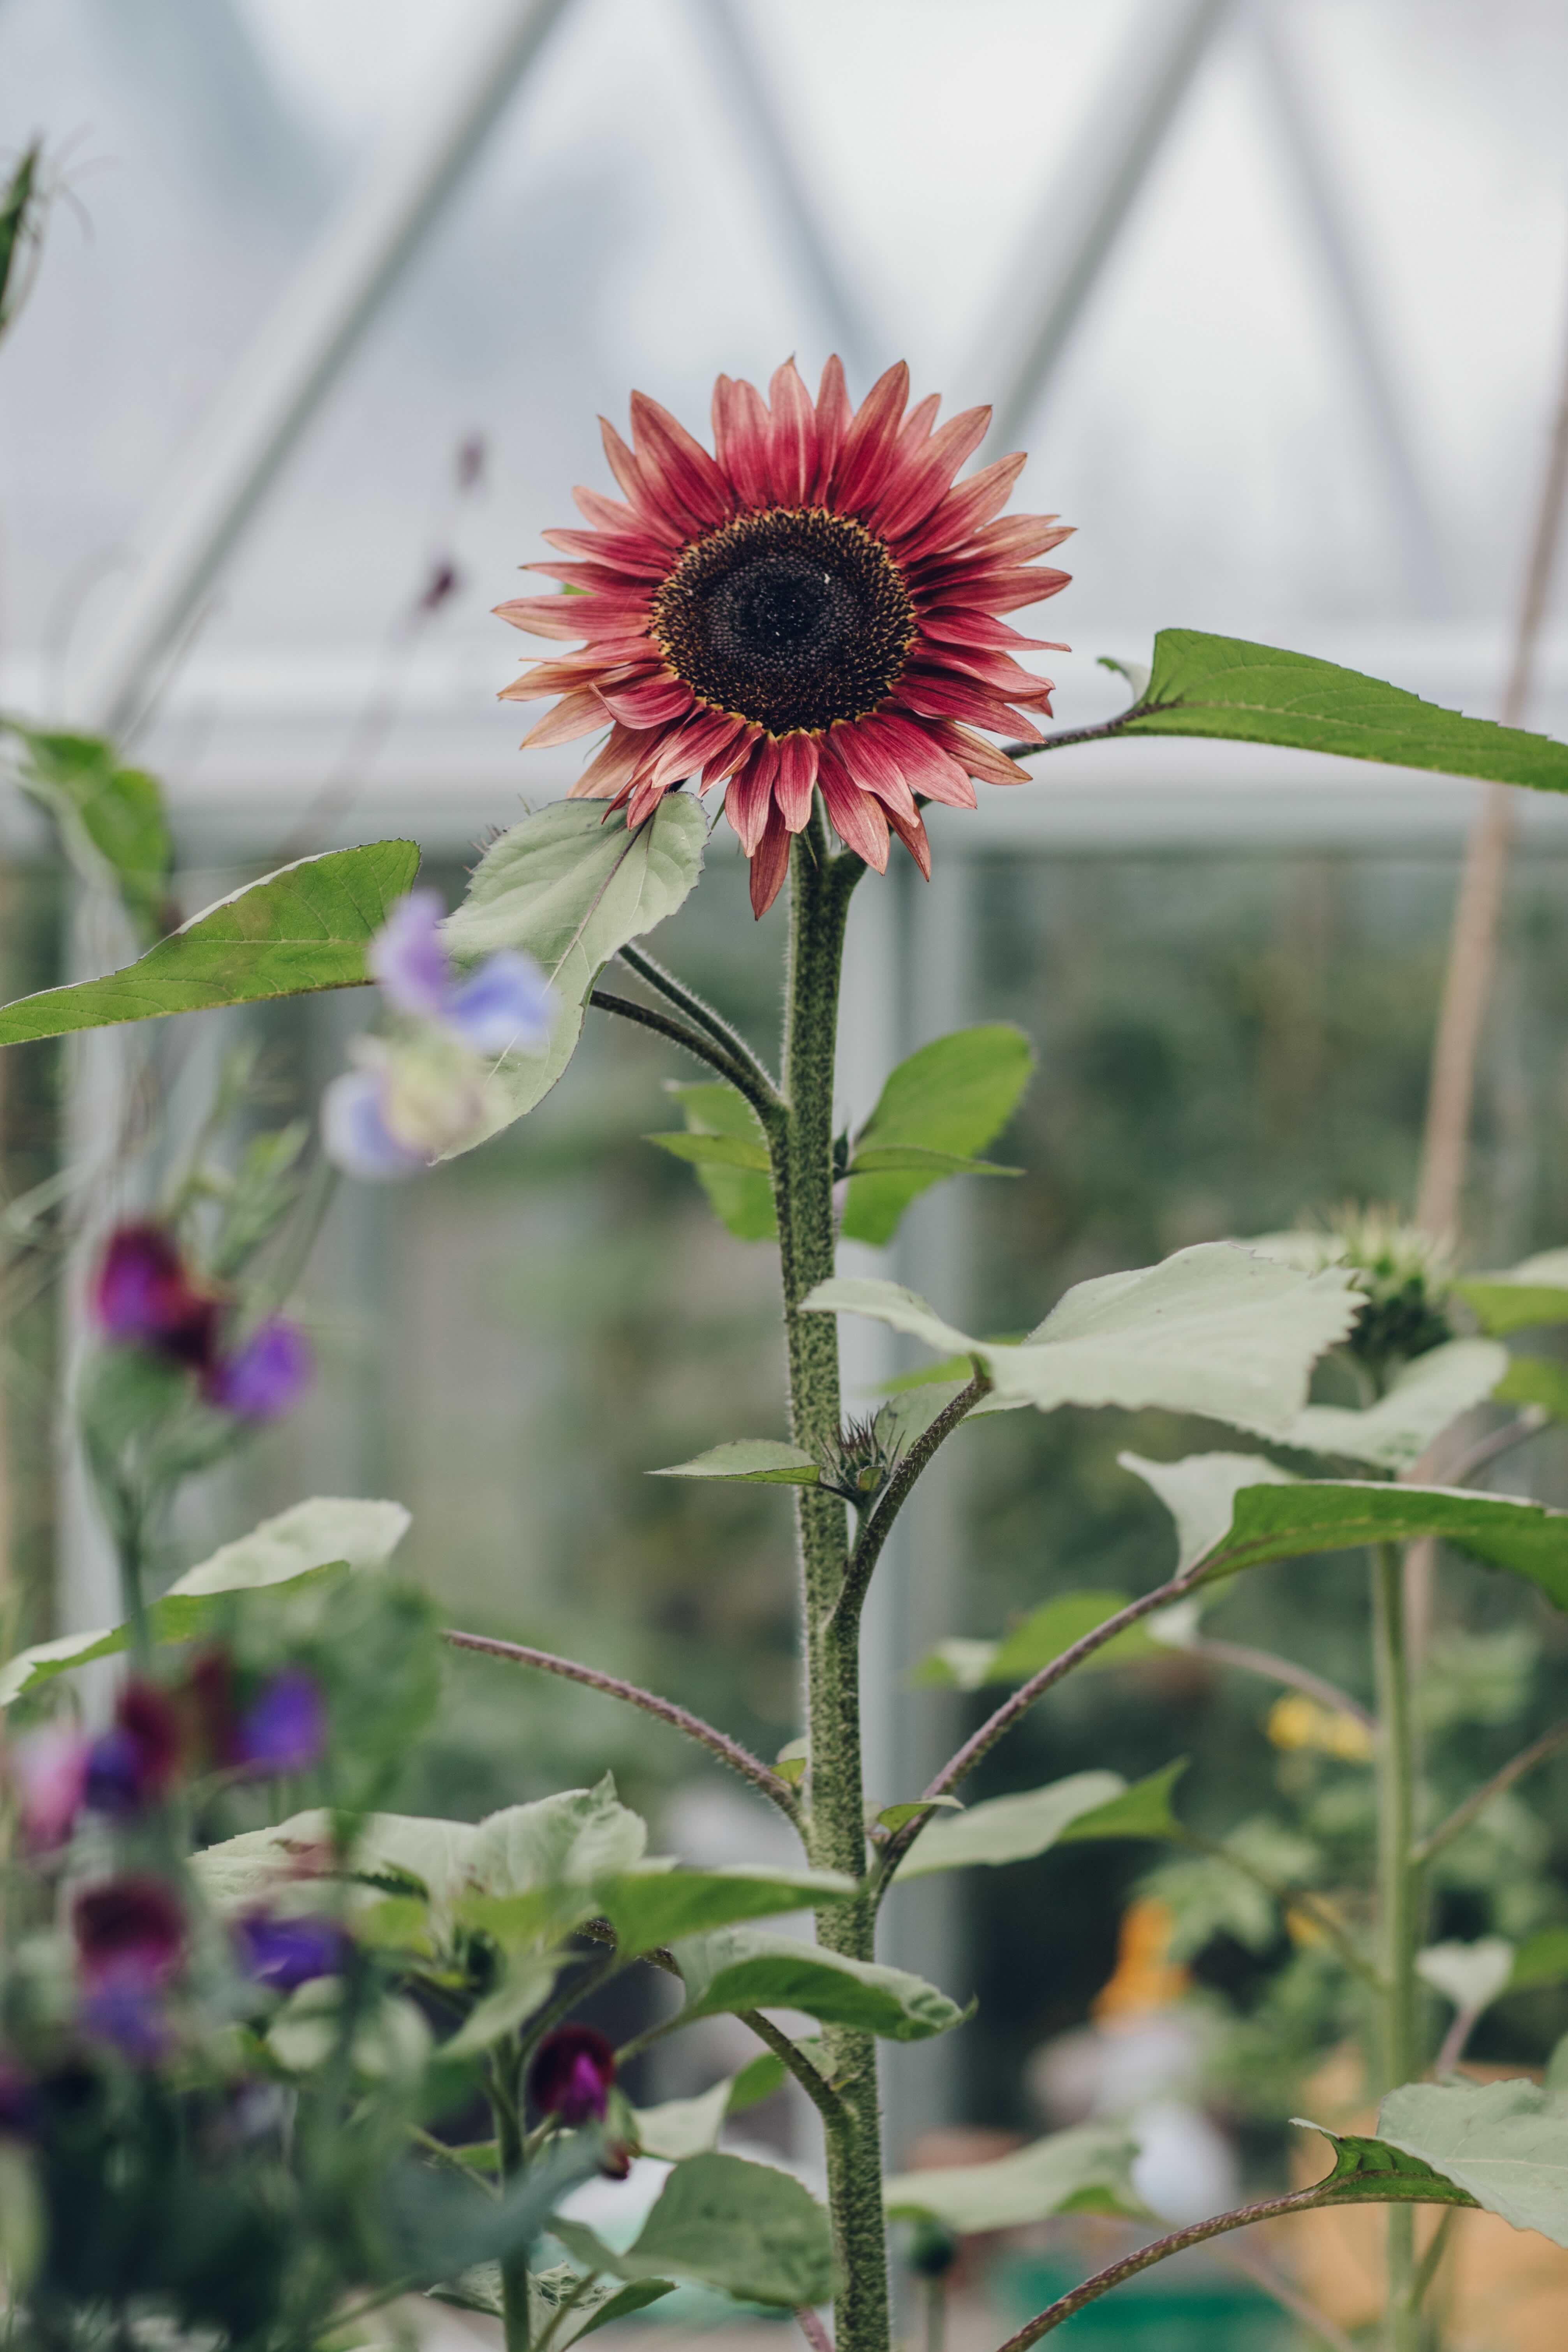
I tend to sow perennials in February, hardy annuals in March and half hardies at the beginning of April. Perennials need longer to mature, but if you sow them in February you’ll need to keep them in a cool room, greenhouse or cold frame as they grow. March is the main month for your seed-sowing frenzy, and the right time to sow hardy annuals like sunflowers, poppies, marigolds, annual phlox, cornflowers and many others. Half hardies such as cosmos and zinnias flower later and because they are tender they can’t be planted out until after the last frosts. They also grow swiftly, so if you sow them too early they can become too big for their pots before it’s time to plant them out.
Germination temperatures
There’s a lot of angst about this, and people invest in expensive propagators and all sorts of unnecessary kit because they worry about the right heat before they have even started. As a general rule, hardy annuals need less heat than half hardies to germinate, but will often benefit from a kickstart of warmth. I germinate most things at a temperature of about 16-18C inside my house on a windowsill, keeping them at a fairly consistent temperature. For half hardies, I might put them in a propagator (a very basic windowsill propagator like this) which will boost the temperature and keep it constant. For me, it’s not an exact science, and I get a reasonably high success rate. I have a stack of clear perspex lids for all my seed trays. These provide the humid atmosphere that the seeds need to come to life. The main thing to remember is to remove the plastic lids and move your seedlings to a cooler and light-filled place as soon as they have germinated, otherwise they will grow leggy and weak.
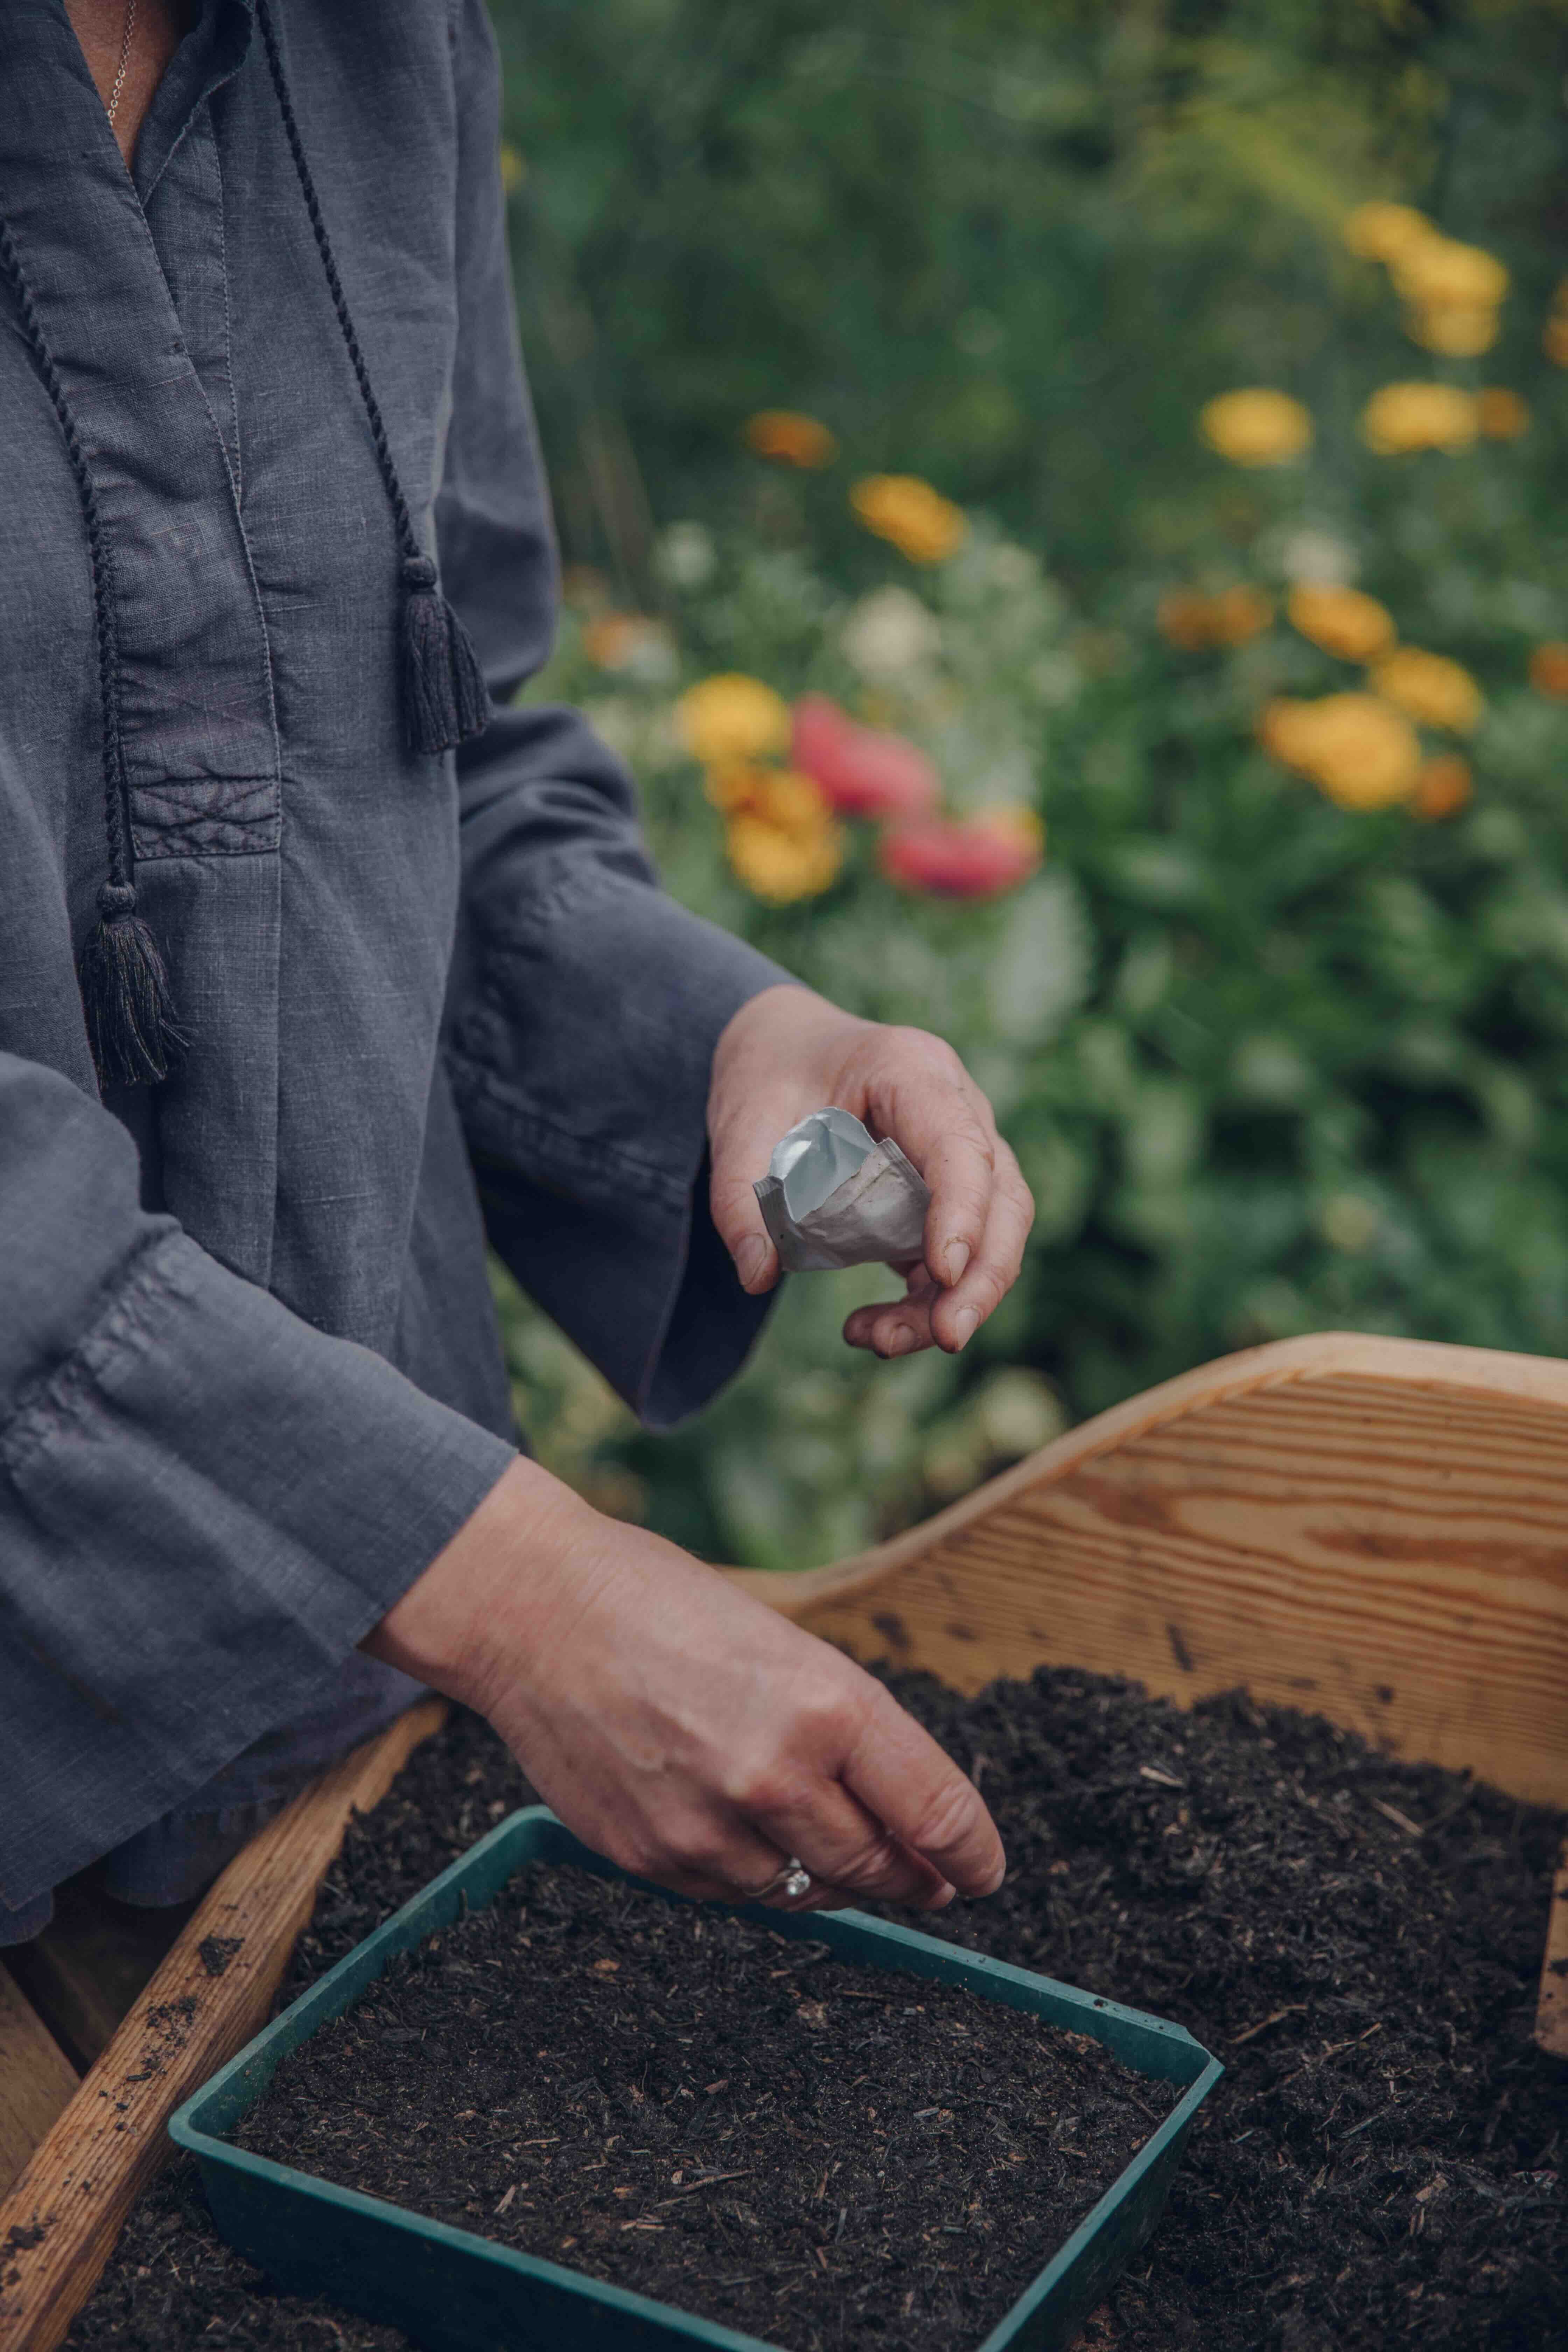
Light/dark
Some things need light to germinate, others don’t; read the specific information on each seed packet to ascertain what each one requires. If light is needed, you shouldn’t cover the seeds at all; just scatter them on the surface of the compost, press them lightly in with a pot tamper, and then either leave them or cover them with a fine sprinkling of vermiculite or finely milled cork. I picked up the cork tip from Hardy’s Cottage Plants and use it all the time now as it is more eco-friendly than vermiculite. It isn’t widely used yet in horticulture, it seems, so this bag of cork granules I found on Amazon is sold for model railway building! Others top their seeds with fine horticultural grit.
Pricking out
There are different views about when this should be done, but the general rule is that you should wait until the second set of leaves has emerged (actually this is the first set of true leaves as the first pair, known as the cotyledons, are actually part of the seed embryo). My view is the earlier the better for pricking out, otherwise the root systems get entwined and tangled, and can be damaged when you start to remove the seedlings. Wait until the next set of leaves are just visible and then prick them out, handling them very gently by the cotyledons. Prick out tiny seedlings into modular seed trays, as it doesn’t work to give them too much space in a larger pot at this stage. Make a small depression in the compost with your finger or a small dibber, and push the seedling gently in, watering carefully afterwards.
Potting on
Often you’ll need to pot on your seedlings into larger pots before you actually get them into the ground. You’ll know when they need moving on because you’ll see the roots starting to emerge out of the bottom of the modular tray or pot. If you leave them too long, the seedlings will start looking yellow and weak because the nutrients in the compost are starting to run out. Use any good multipurpose compost to pot your seedlings on, and then gradually harden them off - in other words acclimatise your plants to being outside - before planting them out.
How I use my home grown plants
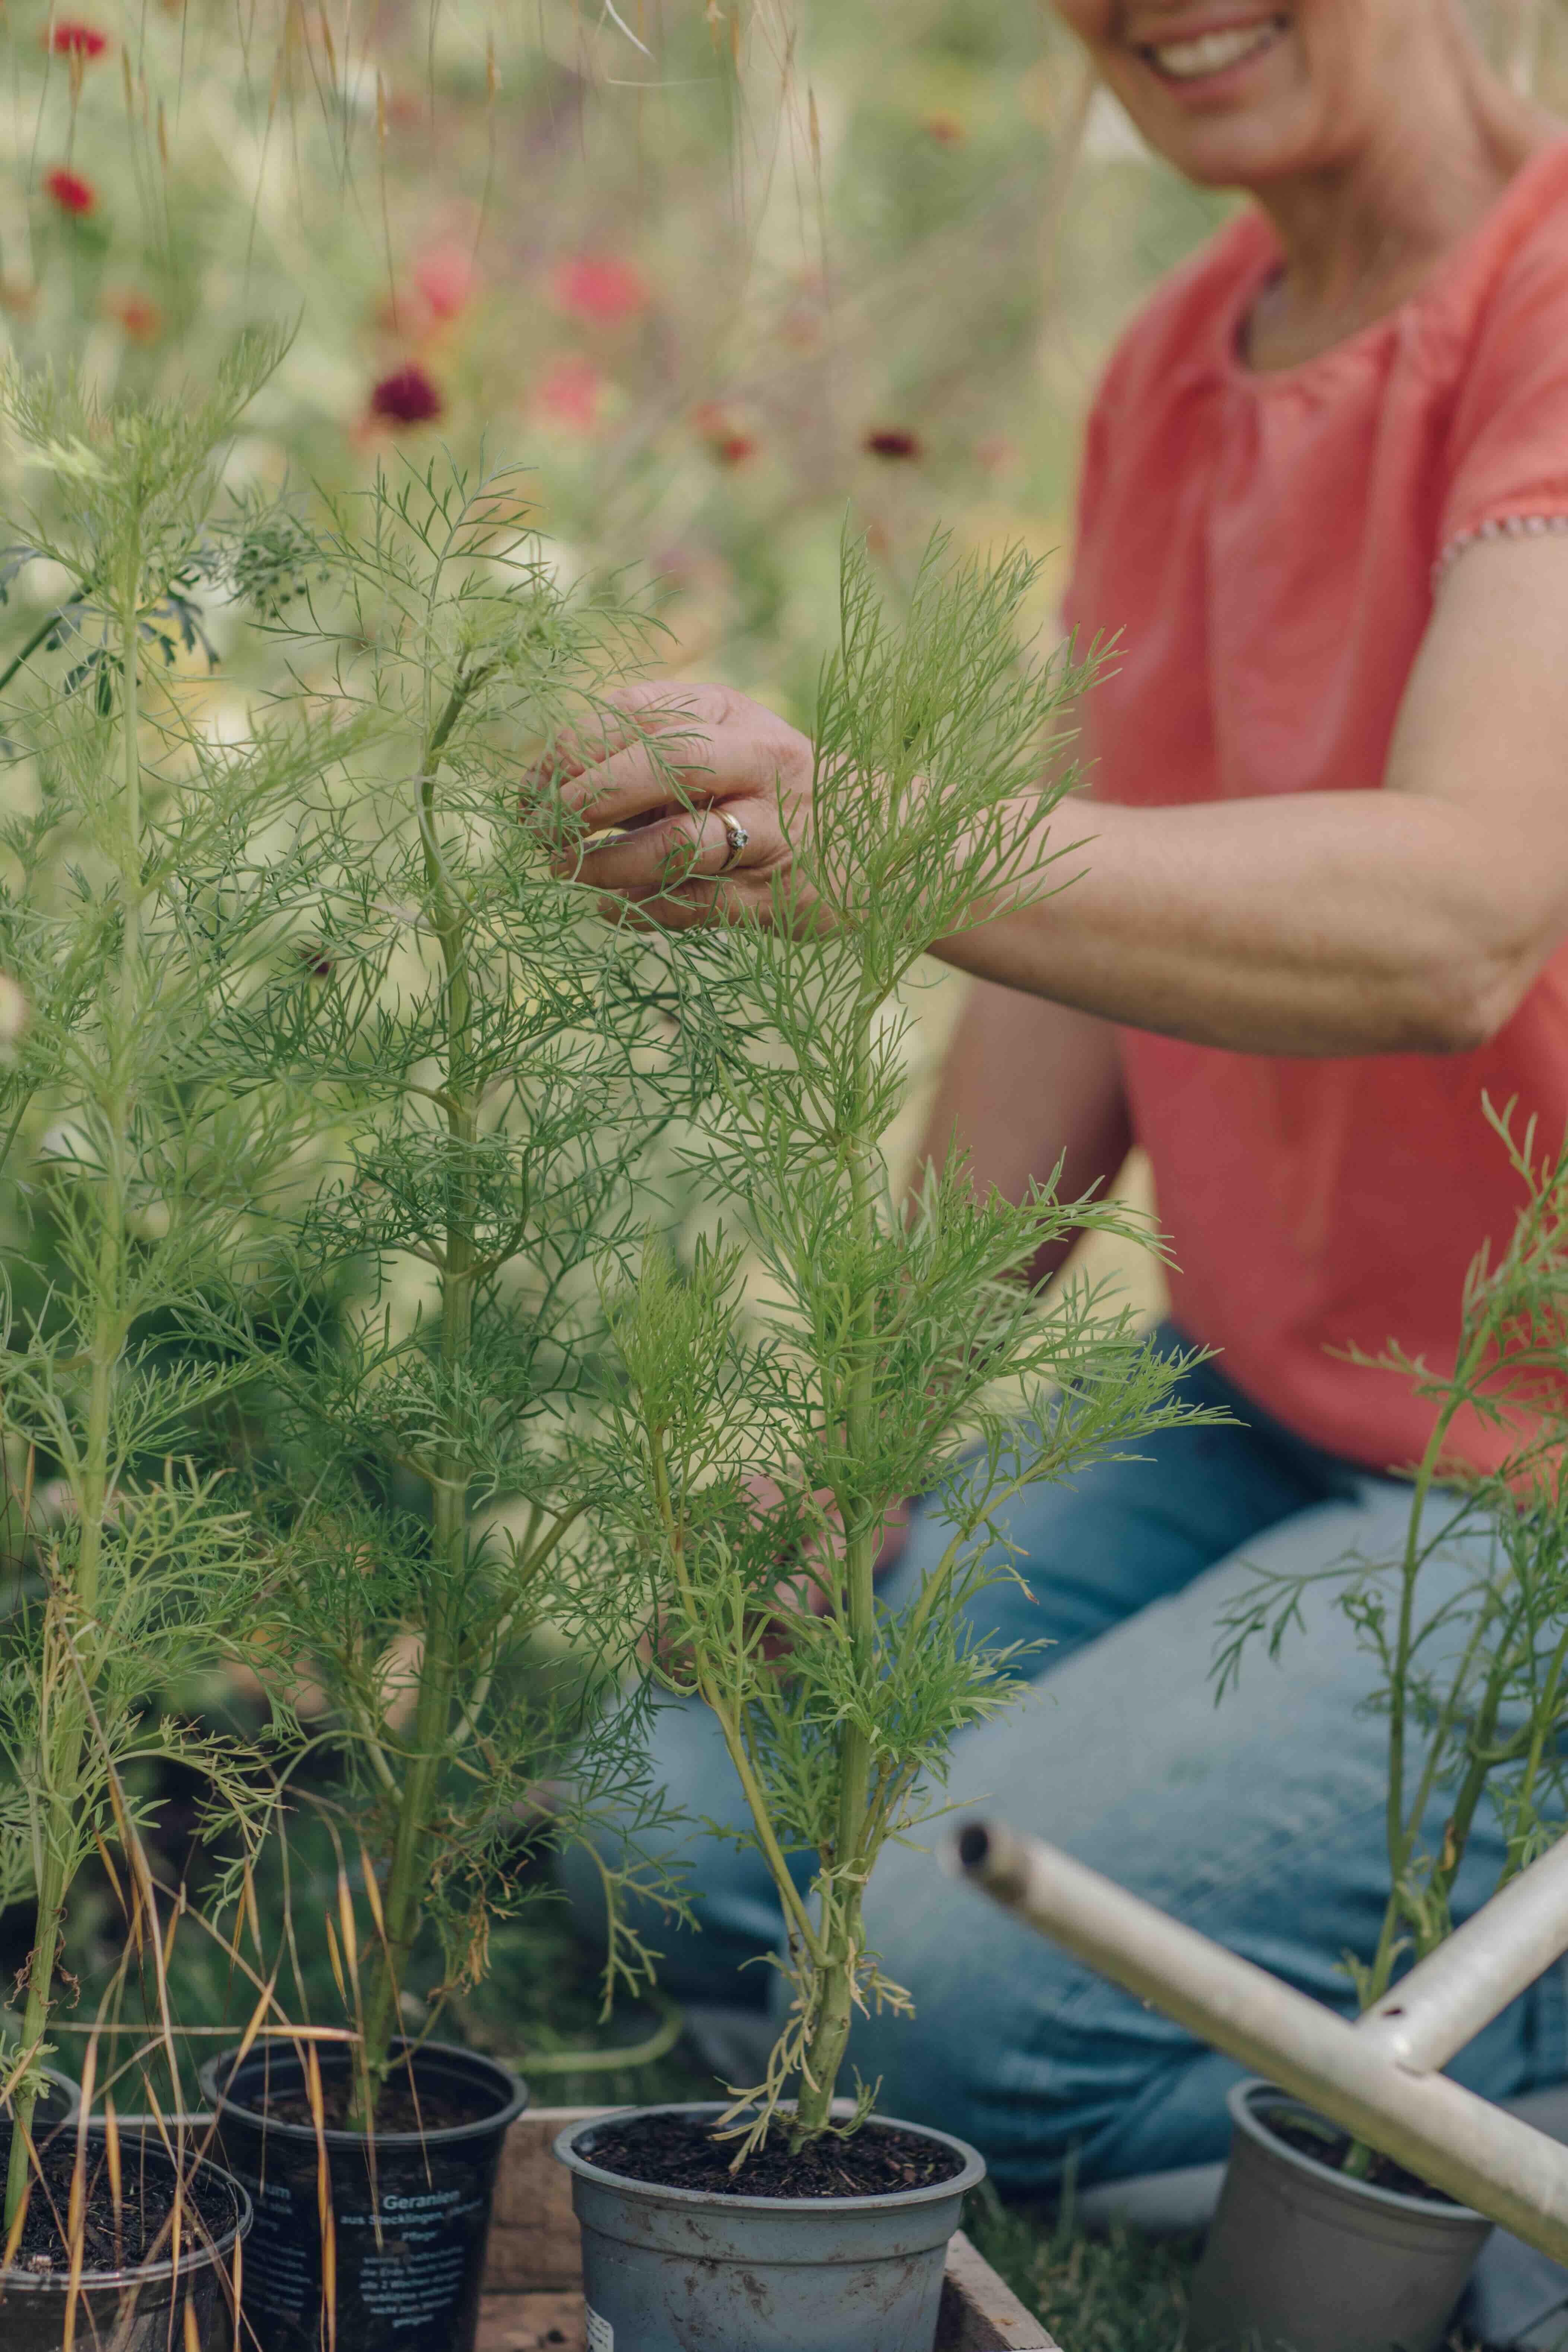
I grow dozens of plants from seed every year, for adding to my borders and pots, and for cutting. I grow vast quantities of cosmos each year for padding out the borders. There are always gaps that open up when the forget-me-nots are cleared in late spring, and these just slot in easily, and will grow swiftly to become tall, bushy plants that will flower from July to the first frosts. Ammi is another stalwart, the most fantastic filler plant and perfect for a cut flower arrangement. Growing annuals for summer pot displays is very satisfying. I’ve even grown my own lobelia from seed for the past few years - it’s very easy. Annual phlox, marigolds, violas, dianthus and cosmos are all good candidates for containers. It’s perfectly possible to grow an entire cut flower garden from seed with annuals such as ammi, florist’s dill, larkspur, cornflowers, scabious and sweet peas.
I like adding a few new perennials to my borders each year too. Last year I managed to raise a dozen oriental poppies from seed. They didn’t flower in their first year but most of them seem to be growing strongly already this spring so I’m really looking forward to seeing them bloom this year. There’s nothing that makes you prouder than knowing you grew something from seed.

Garden jobs for March
• plant seed potatoes
• pot up over-wintered dahlia tubers
• plant summer bulbs - I’ll be filling pots with Gladiolus murielae
• sow tomatoes, peppers and chillis under cover
• plant onion sets and shallots
• feed shrubs and roses with blood, fish and bone or a similar organic fertiliser
Thank you for reading this post, and do share with a friend if you think they would be interested.
Loving the Create Academy course, Clare! So inspiring and enjoyable and I’ve placed a large Chiltern seeds order! Quick question please - you showed a notebook where you’ve pasted photos of the flowers in order of sowing - do you have a mini printer for that or do you have another clever way of doing it? Many thanks, Vee
Really helpful list - thank you. So excited to get started in the garden again this year and in my new greenhouse!